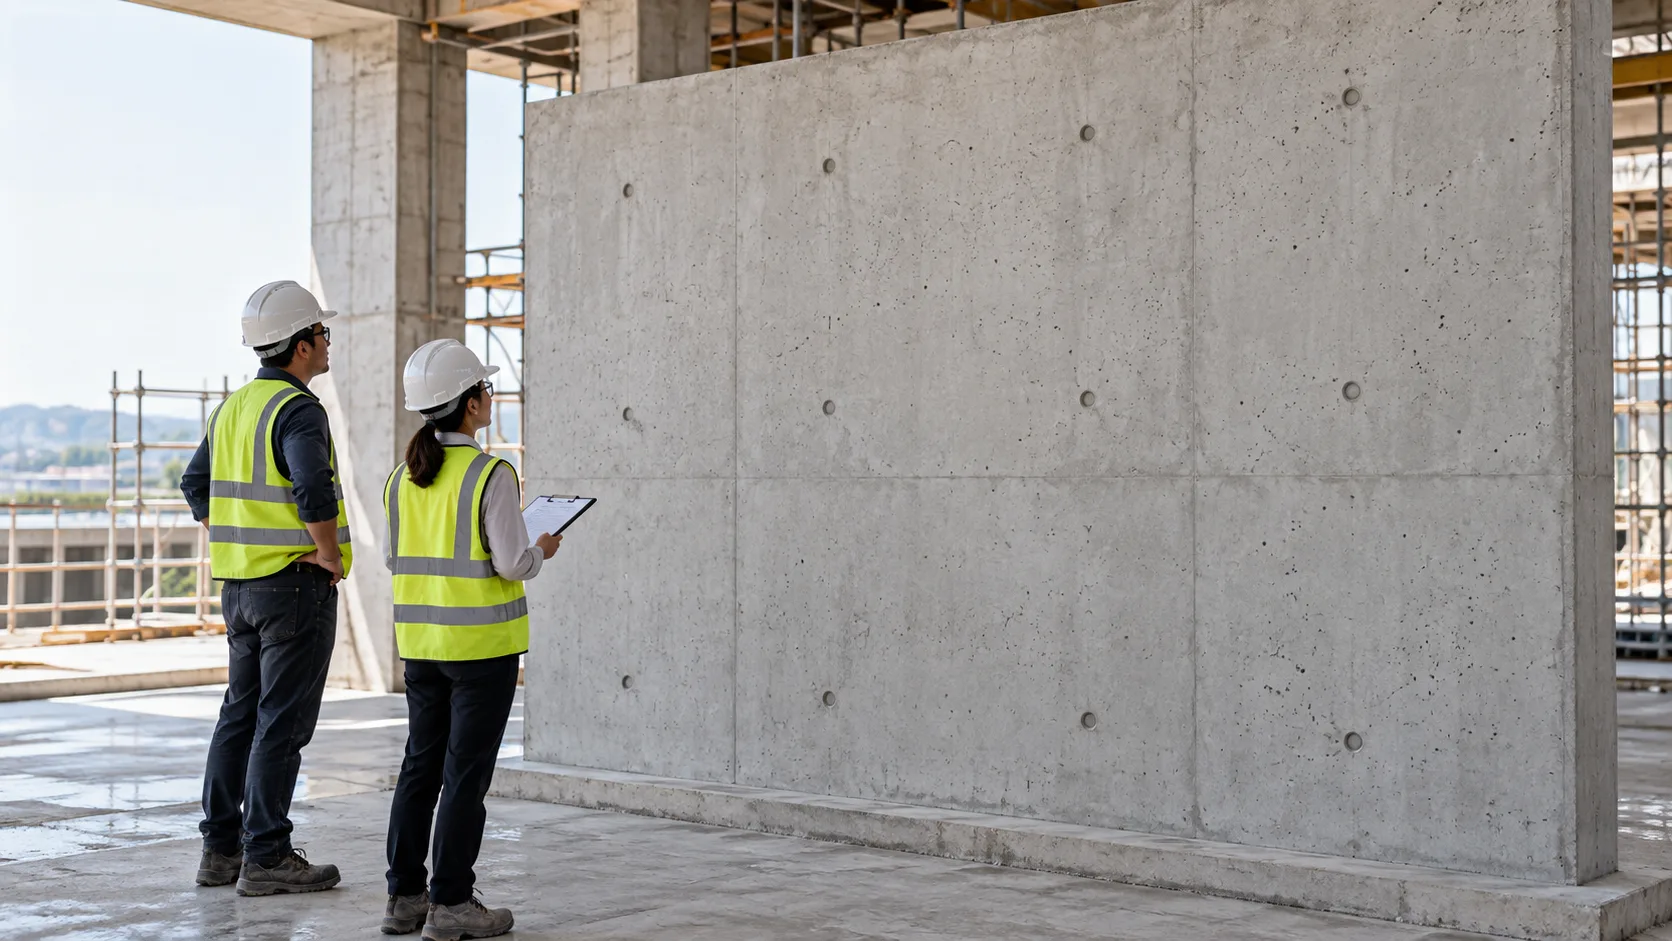
Fair-faced concrete is both a structural surface and a finished architectural surface. That makes acceptance easier when the visual expectation is agreed before the first production pour, rather than debated after the forms come off.
The most useful reference is usually a representative, approved mock-up supported by written project requirements. This guide explains how to define that reference, inspect it consistently, and record the result. It is not a substitute for the project specifications or the applicable standard.
Define the Finish Before Building the Mock-Up
“Smooth,” “uniform,” and “high quality” can mean different things to the owner, designer, contractor, and concrete supplier. Put the expectation in writing before the mock-up is built. At a minimum, agree on:
- the intended surface character, including texture, color range, form-face pattern, and tie-hole layout;
- which areas will be exposed and the normal viewing distance;
- how bugholes, fins, offsets, color variation, and repairs will be reviewed;
- who can approve the mock-up and who makes the final acceptance decision;
- what must be repaired, what may remain, and how repairs should look;
- the lighting and viewing conditions for review.
ACI PRC-347.3-13(21), Guide to Formed Concrete Surfaces, describes four quality levels and discusses form-facing material, surface void ratio, and planning through acceptance. Treat it as a reference for writing project-specific expectations, not as an automatic pass/fail table for every job. The contract documents and governing local requirements remain controlling.
Build a Representative Field Mock-Up
A useful mock-up reproduces the process that will create the production surface. A small, clean sample may be insufficient if the actual work includes panel joints, corners, tie holes, repairs, or changes in formwork direction.
Where relevant, use the planned:
- concrete materials and supply source;
- formwork facing, joints, release agent, and application method;
- reinforcement congestion and embedded items near the visible face;
- placement sequence, lift depth, consolidation method, and crew practices;
- curing conditions, stripping timing, cleaning, and agreed patching method.
Record any differences between the mock-up and production. If a material, formwork system, release-agent procedure, or repair method changes, decide whether another trial or approval is needed before the next pour.
Agree on How the Surface Will Be Viewed
Inspection conditions can change how a surface appears. Before work starts, specify the viewing distance, lighting, angle, and whether reviewers will compare the work directly with the accepted mock-up. Avoid switching to close-up inspection or harsh raking light unless the project requires it.
As one edition-specific example, ASCC’s explanation of ACI 301-20 describes acceptance of architectural cast-in-place concrete by comparison with an accepted field mock-up in daylight at a stated viewing distance. That is not a universal distance for every concrete application: the contract may set different conditions, and other work types can have different criteria. Confirm the requirements that actually govern the project.
Pre-Pour and Post-Strip Checklist
| Stage | Check | Record |
|---|---|---|
| Before the pour | Form face, joints, corners, ties, cleanliness, and repairs match the approved setup | Photos and any approved deviations |
| Before the pour | Application matches the tested product and method; missed zones or pooling are recorded | Product, batch, application method, and inspection result |
| During placement | Sequence and consolidation follow the mock-up process as closely as site conditions allow | Any changes, interruptions, or unusual conditions |
| After stripping | Surface is viewed under the agreed conditions and compared with the accepted mock-up | Viewing conditions, reviewer, date, and observations |
| After stripping | Defects and repair areas are marked by location before patching | Annotated photos, repair decision, and approver |
This checklist supports a consistent review; it does not create tolerances that are absent from the contract.
Review Defects Against the Agreed Reference
When a surface differs from the mock-up, describe what differs and where it occurs before deciding on a repair. A location map and photos make repeated patterns easier to identify.
| Observation | Useful comparison or process check |
|---|---|
| Bugholes or surface voids | Compare their distribution and appearance with the reference; review form-face condition, placement, and consolidation records |
| Color variation | Compare adjacent pours and the mock-up; check for changes in materials, moisture, curing, formwork, or release-agent application |
| Fins, offsets, or joint marks | Check panel alignment, joint sealing, form movement, and the agreed panel pattern |
| Tie-hole or patch differences | Compare location, size, finish, and repair method with the approved sample |
| Sticking, drag marks, or residue | Review form condition, release-agent film, stripping sequence, and cleaning procedure |
Do not assume that every visible variation has the same cause. Record the condition and investigate the process before changing several variables at once. For broader diagnosis, see How to Diagnose Concrete Surface Defects.
Include Release-Agent Application in the Trial
Release agent is one variable in the surface system, not a way to compensate for poor formwork or inconsistent concrete placement. Use the product and application procedure intended for production when building the mock-up. Follow the product’s coverage instructions and record the application method; visible pooling or heavy overlap are reasons to pause and review the setup.
Document the product, formwork material, application equipment, coverage method, and time between application and casting. If the mock-up passes but production uses a different panel material or spray setup, the trial may no longer represent the work. The related guide How to Set a Concrete Release Agent Spray Standard explains how to make that process repeatable.
Keep an Acceptance Record
For each approved mock-up, keep one short record containing:
- The drawing or area represented and the agreed finish description.
- Concrete, formwork, release-agent, placement, curing, and stripping details.
- The agreed viewing conditions and acceptance authority.
- Photos of the approved reference and any accepted repair sample.
- The decision date, approver, and any written limitations.
This gives the site team a shared reference when reviewing later pours and helps distinguish a process change from a change in expectation.
Conclusion
Fair-faced concrete acceptance works best when the finish is defined before production, demonstrated with a representative mock-up, and reviewed under agreed conditions. Specify what matters, document the actual process, and compare the work with the approved reference. Avoid inventing universal defect counts where the contract has not established them.
For the broader surface-quality system, continue with Fair-Faced Concrete Finish: 3 Factors That Control Quality and How to Prevent Bugholes on Fair-Faced Concrete.