If this is your first time using a concrete release agent, three questions usually come up: how clean should the form be, what should the applied film look like, and how long should you wait before placing concrete? Start with one rule: release agent is one part of the forming process; extra material cannot make up for an unprepared form or a problem with the concrete.
A release agent is applied to the form surface that will contact fresh concrete, helping the two separate during stripping. It is not added to the concrete mix, and it does not replace form inspection, correct placing, consolidation, or curing. Products differ in chemistry, dilution instructions, coverage, and waiting time. This guide explains a general workflow; the project requirements and the current product label, technical data sheet, and safety data sheet govern actual use.
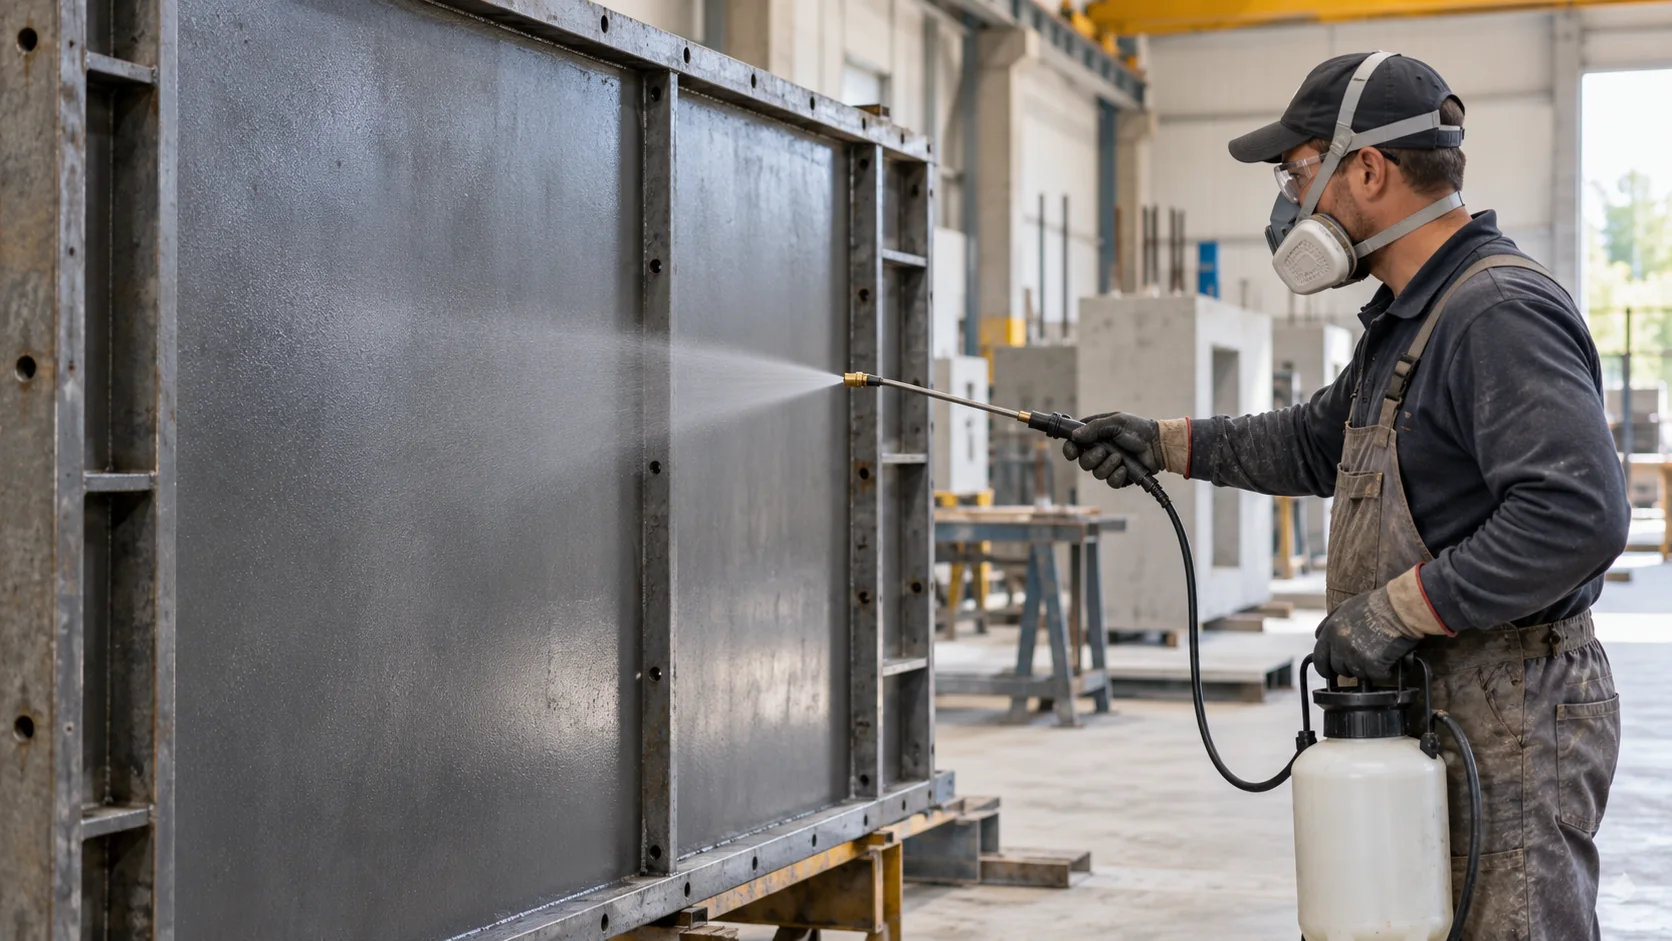
The hero image is an illustrative job-site scene. The diagrams do not specify settings or acceptance criteria for a particular product.
See the whole process first
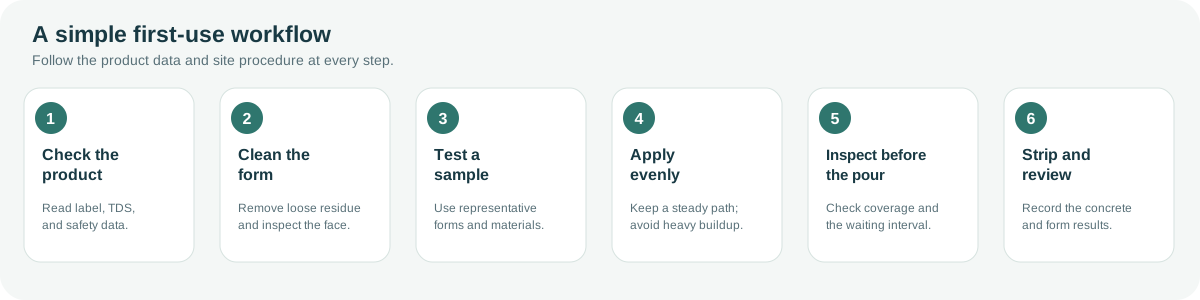
Match the product, formwork, and site process before moving to full-scale application.
Step 1: Confirm how your product is used
Check the product name, batch, storage condition, and shelf life. Confirm whether it is ready to use or concentrated. Mix, dilute, and store it only as directed by its label or technical data sheet. Do not transfer a dilution ratio from another product. If the material is moved to another container, keep its label identifiable.
Read the safety data sheet and use the personal protective equipment it requires, such as gloves, eye protection, or respiratory protection. Follow site ventilation and disposal rules. Protect reinforcement, floors, and nearby surfaces that should not receive spray mist.
Step 2: Inspect and clean the form
Identify the form material, its condition, and how it has been used. Remove loose concrete, dust, debris, old film, and other contamination. Check joints, corners, repaired areas, and low spots where liquid can collect. Choose cleaning tools that suit the form material so you do not damage a coating or face.
Whether the form must be fully dry depends on the product. In every case, do not coat loose debris or standing liquid. If the form has been rained on, washed recently, or is in a different condition from usual, check whether the product allows application in that condition.
Cleaning methods vary for steel, aluminum, plywood, and plastic-faced forms. See how to clean concrete residue from formwork.
Step 3: Start with a small trial
When using a new product, new form, or new application method, begin with a representative trial panel. Use the form material, application equipment, method, concrete, and stripping plan intended for the actual work whenever possible.
The trial helps answer practical questions: does the form strip cleanly, is there new staining or surface variation, and is there unusual residue on the form? Change only a small number of variables at a time. Record the product batch, dilution, applied quantity, weather, and waiting time so the result can be interpreted.
For a detailed test plan, see how to test concrete release-agent compatibility.
Step 4: Apply evenly instead of aiming for a wet surface
Use a sprayer, roller, or brush approved for the product. Keep a steady pace and let adjacent spray passes overlap slightly. Check edges, corners, and joints, but do not repeatedly coat the same spots until material pools.
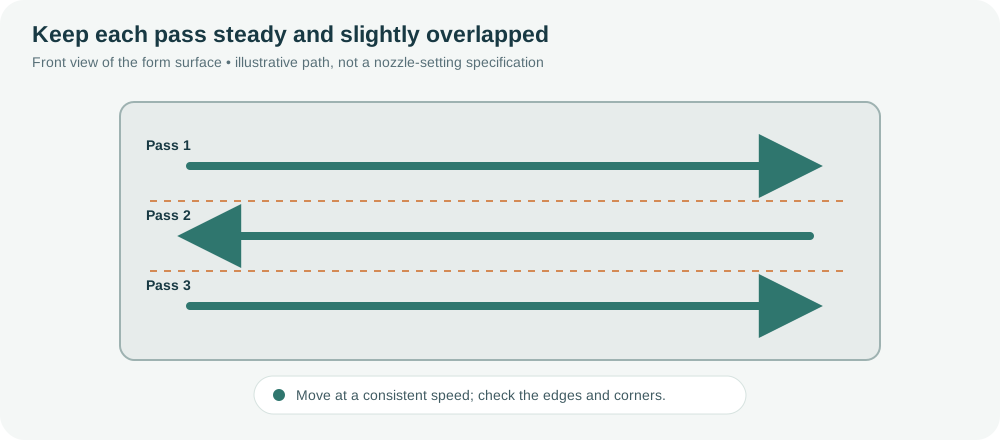
The illustration shows only a spray path. Confirm nozzle, pressure, distance, coverage, and dilution from the product data and a field trial.
If the product requires mixing or a specific nozzle, follow its instructions. Do not add more material just to make the form darker or shinier. With many products, a heavy application can work against surface quality or release performance.
Step 5: Inspect the film before the pour
Walk the form after application and look for missed areas, pools, runs, uneven spray bands, and buildup at edges. Products differ in color, sheen, and drying behavior, so do not use “looks wet” as the only pass/fail test.
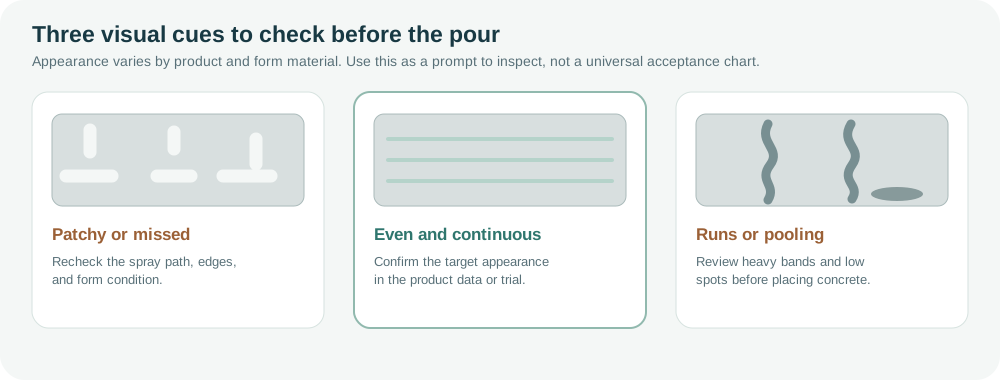
This is a beginner visual aid, not a universal color chart. Follow the product data, project criteria, and trial results.
If you see obvious pooling or a heavy band, handle it under the product instructions and site procedure instead of covering it with more material. For measured coverage, see how to calculate release-agent coverage per square meter.
Step 6: Allow the required time and protect the treated form
The wait between application and concrete placement depends on the product data and site conditions. Do not treat the waiting time for one product at one temperature as a universal rule.
While waiting, protect the form from rain, dust, foot traffic, and other materials. If the interval becomes longer than planned or the weather changes, inspect the form again before the pour. Whether to reapply, and how, must follow the product data and site procedure.
Step 7: Place and strip concrete under the project plan
Release agent does not replace concrete mix requirements, placing, consolidation, curing, or form support. Follow the project method for placing and consolidating concrete, and prevent spray mist from reaching reinforcement or surfaces that should not be coated.
Stripping time and sequence must follow project requirements and be confirmed by the responsible site lead. Do not force a form loose with uncontrolled prying or impact to meet a schedule. If sticking occurs, stop applying force blindly. Record the location, form condition, and placing information, then follow the project procedure.
Step 8: Review both the concrete and the form
After stripping, take photos in consistent lighting and record the concrete face, form residue, and any unusual conditions. These notes are more useful for the next pour than a single note that the release agent “did not work.”
| What you notice | What to check first |
|---|---|
| Local sticking or tearing | Form cleanliness, continuity of coverage, and whether stripping conditions met project requirements |
| Dark marks or surface contamination | Pooling, heavy application, old residue, or another contamination source |
| Uneven surface appearance | Spray path, edge coverage, form condition, weather, and waiting time |
| Unusual residue on the form | Product compatibility and whether the cleaning and reuse process was followed |
These observations help guide troubleshooting; appearance alone cannot confirm a cause. Concrete materials, formwork, consolidation, curing, and stripping technique can all affect the result. Continue with how to diagnose concrete surface defects and what to do when concrete sticks to formwork.
First-use checklist
Before the pour, confirm:
- Product and batch are identified, and the use instructions have been reviewed
- Required protective equipment and the application area are ready
- The form has no loose residue, dust, or standing liquid
- A representative trial was completed for a new product or process
- Spray passes are steady, and edges and joints have been checked
- There are no obvious missed areas, runs, or pools
- Waiting time and protection from contamination follow product data and site procedure
- Stripping requirements have been confirmed by the responsible site lead
Do not rush the first application to maximize speed. Make one small area repeatable, record the result, then give the crew a process they can follow. If the product, form, or site condition changes, confirm the process again.
Common questions
Should release agent be diluted with water?
Not always. A ready-to-use product should not be diluted unless its instructions allow it. A concentrated product should be diluted only as its own technical data specifies. Incorrect dilution can change product performance.
Can concrete be placed as soon as the form has been sprayed?
Not necessarily. Confirm coverage, the required waiting time, whether the surface has been contaminated, and whether the product suits the form and site conditions. Use a representative trial for first-time application.
Can release agent solve all bugholes or color variation?
No. It is one factor at the concrete-form interface. Concrete materials, formwork, placement and consolidation, curing, and weather can also affect the surface.
How much should I apply per square meter?
There is no single quantity for every product and form material. Measure using the product’s stated basis, confirm the result with a field trial, and record actual usage alongside the stripping result.
References
- American Concrete Institute (ACI): Form release agents FAQ
- Sika Release Oil product data sheet example. This is included to illustrate product-specific instructions, not as an endorsement or a source of universal parameters.