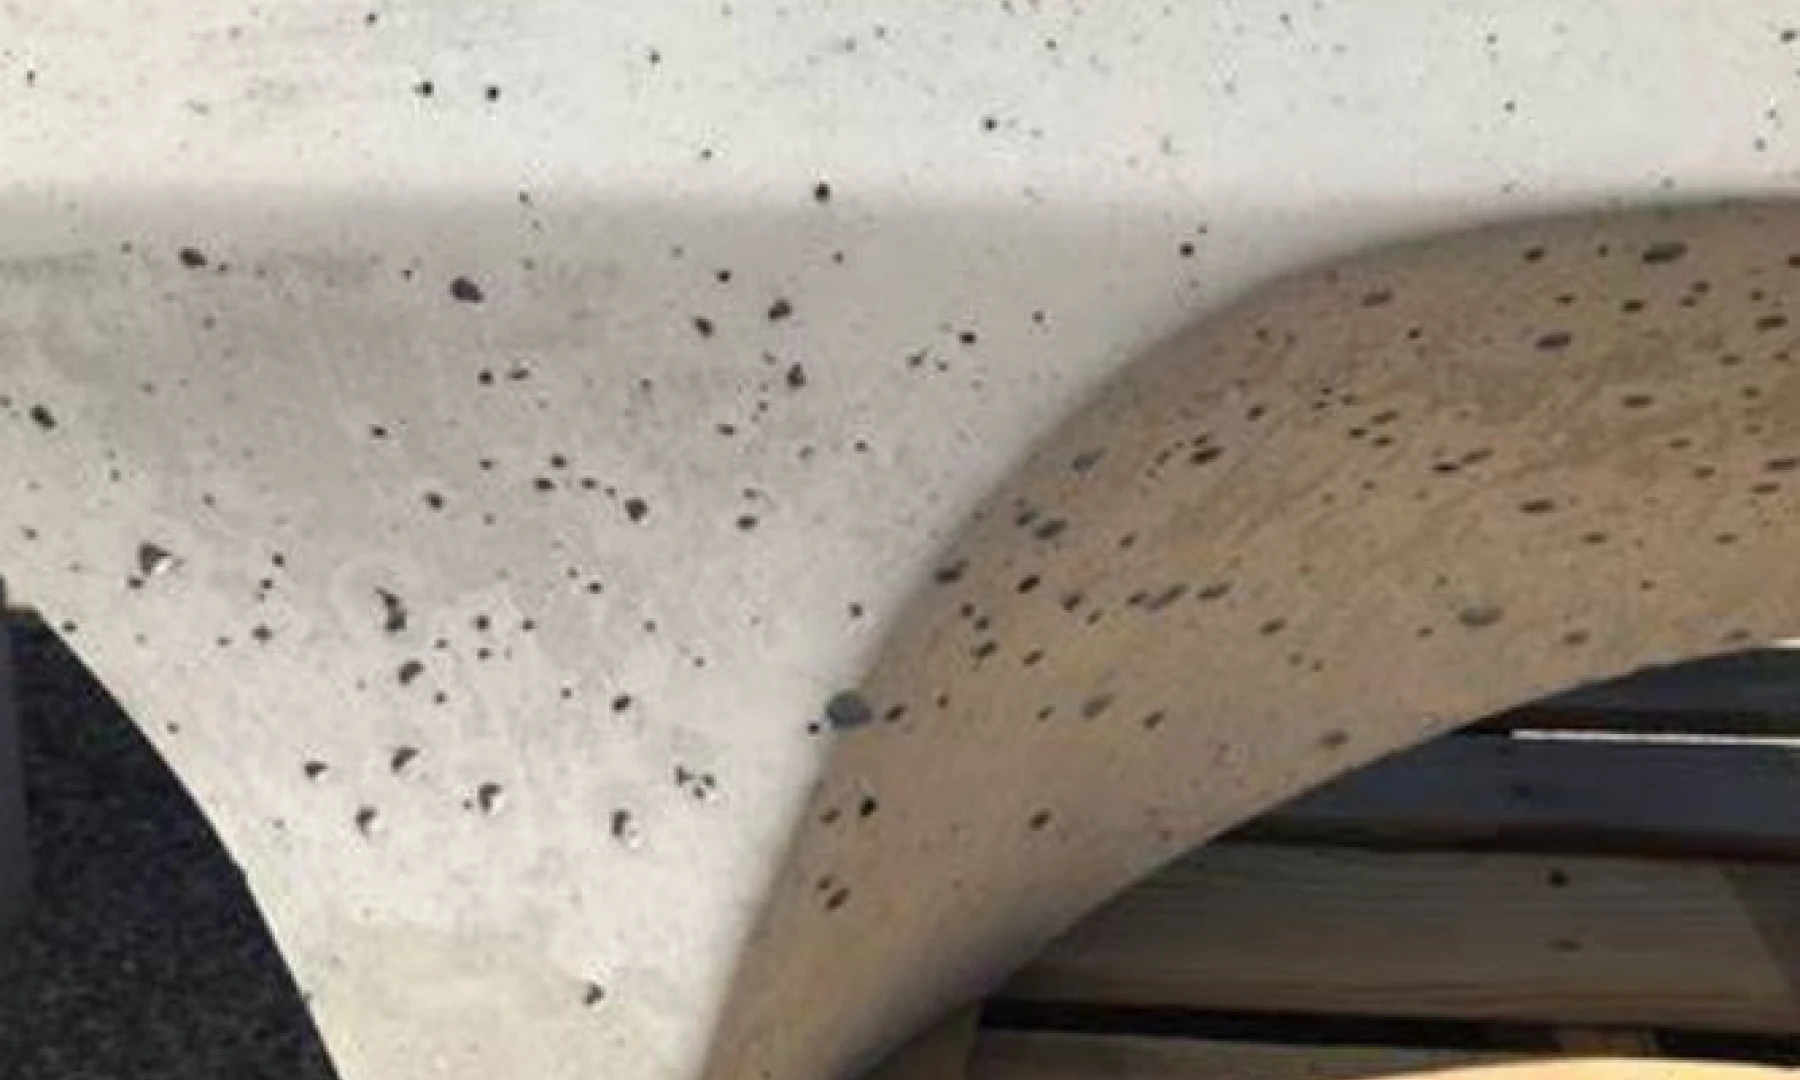
Short answer: To reduce bugholes on fair-faced concrete, keep the form face clean and serviceable, apply release agent according to its instructions, place and consolidate the concrete consistently, and use the stripped surface to decide what to test next.
This page is a jobsite checklist. For the causes and limits of vibration as a single fix, start with Bugholes in Concrete: Why Vibration Alone Fails. For overall finish planning, see Fair-Faced Concrete: The 3 Factors That Decide Surface Quality.
Before the Pour: Prepare and Record
- Inspect the form face. Remove residue and loose material using a method approved for that form material. Note damage, worn coating, joints, and areas that have produced repeat defects.
- Check the release-agent instructions. Confirm the recommended application method and coverage for the product and form surface. Do not substitute a universal rate or a visibly heavy coat for the product guidance.
- Apply consistently. Use the same equipment and agreed method across the test area. Look for missed areas, runs, or pooling, and correct them before casting.
- Use a representative mockup when changing the process. Keep the concrete, form material, release product, placement sequence, and acceptance criteria as close as practical to the planned work.
For a repeatable application check, see Release Agent Application: Spraying, Coverage, and Quality Control and the coverage-rate guide. Coverage figures are product- and form-dependent; use them as a recording method, then follow the product data and project specification.
During Placement: Keep the Method Consistent
- Place concrete in a planned sequence, paying attention to corners, congested reinforcement, and other areas where access is restricted.
- Keep the placing and consolidation method consistent with the approved mix and site procedure. More vibration is not a substitute for an unsuitable mix, inaccessible placement, or a contaminated form face.
- Record changes in crew, equipment, mix, placing sequence, or consolidation method. If the result changes, these records help narrow down what differed.
There is no single vibration duration or release-agent amount that applies to every mix, form, and project. Follow the project’s approved method and product instructions.
After Stripping: Map the Defects Before Changing Anything
Photograph the surface under consistent lighting and mark where the voids appear. Compare those locations with form joints, application passes, placement sequence, and reinforcement congestion. Record the product, application method, form condition, concrete batch, and relevant site conditions.
Use the pattern as a lead for the next check, not as a diagnosis by itself. Change one controllable item at a time on a representative area where practical. Compare the result against the project’s agreed surface criteria before applying the change to production work.
A Simple Review Table
| What you see after stripping | Compare first | Next check |
|---|---|---|
| Defects repeat near one joint or corner | Form condition, joint detail, placement access | Inspect and prepare that location; keep the next placement method consistent |
| Defects follow spray passes or overlap areas | Application method and visible pooling or missed areas | Recheck the product instructions and verify coverage on a representative panel |
| Defects vary across lifts or placements | Placement sequence and consolidation method | Review the approved site procedure and make the next comparison controlled |
These are troubleshooting prompts, not proof of a cause. Several variables can create similar surface patterns, so confirm changes with a representative trial and the project’s acceptance criteria.
When Bugholes Keep Returning
If the same defect pattern remains after a controlled change, broaden the review to the concrete mix, form geometry, reinforcement congestion, placement access, and project-specific consolidation procedure. For a structured comparison of candidate release agents, see the compatibility test guide.
For material-selection context, read Water-Based Release Agent vs. Waste Oil: Compare Cost and Surface Risk.